No expansion gap
Laminate expands with humidity, and when it hits the wall it buckles upward. You usually see it in the middle of the room or at doorways.
Step-by-step guide
This guide is written by the installers at Pisos Pro Medellín, a flooring-only company serving homes and businesses in Medellín and Eastern Antioquia. We walk through the method we use on site, including the measurements you will not find on the box.
We have been laying laminate and other floors for more than 15 years, with over 900 jobs completed. If you decide not to do it yourself in the end, you will at least know what to demand from whoever installs it.
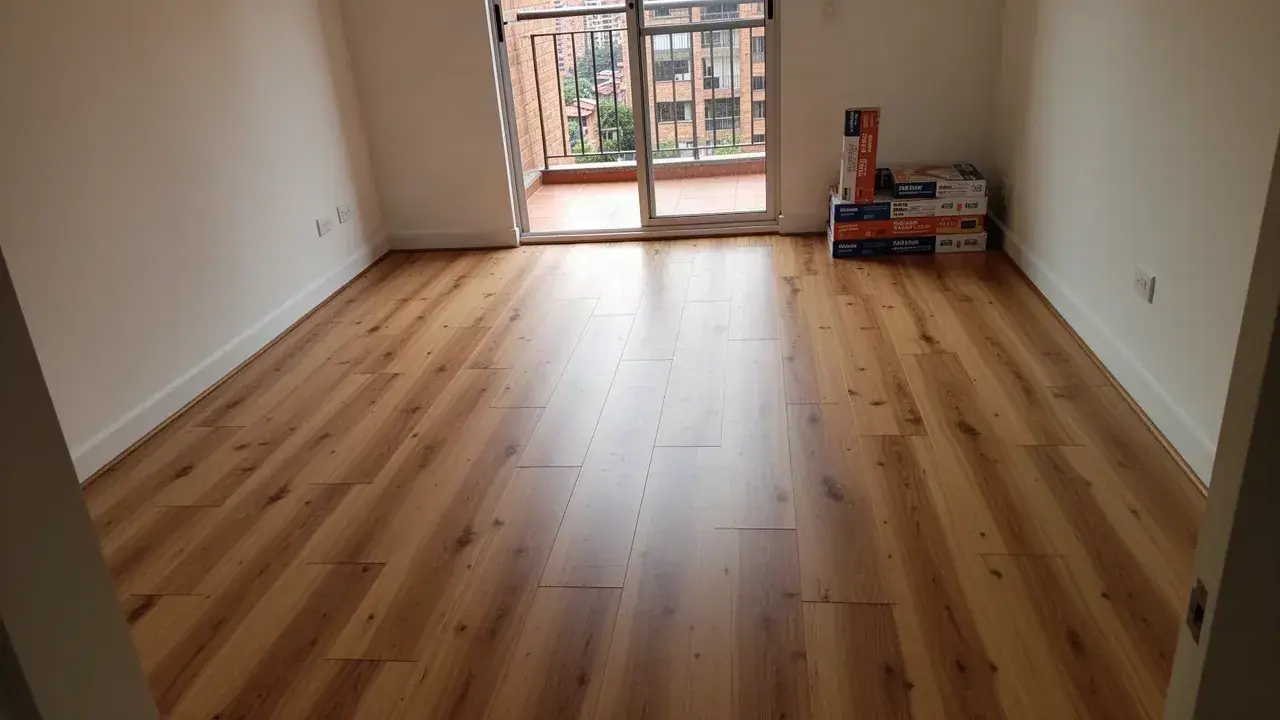
You can get the job done with borrowed tools, but nobody should skip the moisture meter and the straightedge.
| Tool or material | What it is for |
|---|---|
| Miter saw or jigsaw | Straight crosscuts and rip cuts on the planks; the jigsaw handles curves and notches |
| Rubber mallet | Tapping without marking the surface or breaking the click joint |
| Tapping block | Spreading the blow across the plank edge to close joints without damaging the tongue |
| Pull bar | Closing the last plank of each row against the wall, where the tapping block will not fit |
| 8 to 10 mm wedges or spacers | Holding the expansion gap around the whole perimeter |
| Square and string line or chalk line | Marking 90° cuts and checking that the first row runs straight |
| Hygrometer or moisture meter | Testing the subfloor and room air before you start |
| 2 m aluminum straightedge | Finding humps and dips in the subfloor |
| Flush-cut jamb saw | Undercutting door frames so the floor slides beneath them |
| Drill with hole saw bit | Boring holes in planks where pipes come through |
| Polyethylene sheeting, tape and acoustic underlay | Vapor barrier and cushioning under the laminate |
Three checks decide whether the floor lasts for years or lifts within months. All of them happen before you open the first box.
If the straightedge reveals big dips or humps, the fix is subfloor leveling and repair before any laminate goes down. And if moisture readings come back high, a proper moisture barrier goes in first.
This is the sequence we follow in a typical apartment. For 60 to 80 m², an experienced crew finishes it in 2 to 4 days.
Roll out 200-micron polyethylene with 20 cm overlaps taped shut, running it 3 to 5 cm up the walls. The acoustic underlay goes on top, butted edge to edge and never overlapped, so no lumps form.
If your laminate has an attached pad, do not add a second one; keep the plastic sheet whenever the subfloor is cement. The excess climbing the wall is trimmed at the end, below the top of the baseboard.
Start along the longest, straightest wall, tongue facing the wall, with wedges every 50 cm. Stretch a string line end to end: if the first row wanders, the error grows with every row after it.
Leave 8 to 10 mm free against walls, columns, door frames and anything fixed. That clearance is what lets the floor move as humidity changes.
Offset the end joints by at least 30 cm from one row to the next. The offcut from each row can start the following one if it is longer than 30 cm.
Work out the width of the final row before you begin. If it would come out narrower than 5 cm, trim the first row so the difference is split between both sides.
Lay a scrap plank on its underlay on the floor and use the jamb saw to undercut the frame at that height. The laminate then slides underneath instead of leaving a jagged cut around the frame.
For pipes, drill a hole about 16 mm wider than the pipe, cut the plank through the center of the hole and glue the piece back in. A pipe collar covers the gap.
Transition strips go at doorways and wherever the material changes, and baseboards (zócalos) hide the perimeter gap without pressing down on the laminate. Both are fixed to the wall or the subfloor, never to the planks.
Our guide to baseboards and transition strips explains which one goes where.
Laminate expands with humidity, and when it hits the wall it buckles upward. You usually see it in the middle of the room or at doorways.
On cement, vapor rising from the subfloor swells the HDF from underneath. The edges peak upward even though nobody spilled a drop.
Over a hump or a dip, the click joint works bent until it snaps. The giveaway is a plank that sounds hollow or gives when you step on it.
When end joints fall in the same spot on consecutive rows, they create a weak line that eventually splits. The floor also looks fake.
A built-in kitchen, closet or island screwed through the laminate pins it down and stops it floating. Install those units first, or cut the floor around them with its own gap.
Click laminate is designed so a handy person can install it. The difference lies in the prep work and the finishing details, which is where most DIY jobs fall short.
If you would rather we handle it, see the details of our laminate flooring installation service and book a site visit. We measure, show you options and give you an itemized written quote.
Pisos Pro Medellín
Tv. 6 #45-115, El Poblado, Medellín, Antioquia, Colombia
Monday to Saturday: 7:00 a.m. to 9:00 p.m.
Sunday: 9:00 a.m. to 9:00 p.m.